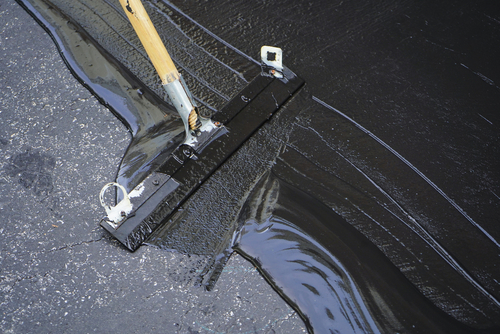
Common DIY Paving Mistakes to Avoid
Paving projects can be a great way to enhance the curb appeal and functionality of your outdoor spaces. Whether you’re creating a new patio, driveway, or walkway, tackling a paving project on your own can be rewarding and cost-effective. However, DIY paving requires careful planning and execution to ensure that the end result is both durable and visually appealing. While taking on a paving project can be exciting, it’s important to be aware of common mistakes that can compromise the quality and longevity of your paved surface. Here are some common DIY paving mistakes to avoid to help you achieve a successful and professional-looking result.
1. Neglecting Proper Planning and Preparation
One of the biggest mistakes that DIY pavers make is skipping proper planning and preparation. Before starting any paving project, it’s crucial to carefully plan out the layout, dimensions, and materials needed. Measure the space accurately, create a detailed design or layout plan, and ensure that you have all the necessary tools and materials on hand. Additionally, proper preparation of the site is essential for a successful paving project. Clear the area of debris, weeds, and vegetation, level the ground, and consider the need for a proper base and edge restraints.
2. Choosing the Wrong Materials
Selecting the right materials for your paving project is key to achieving a durable and visually appealing result. Common DIY paving mistakes include using low-quality or unsuitable materials that may not withstand heavy foot traffic or vehicular use. Make sure to choose high-quality paving stones, bricks, or pavers that are designed for the intended purpose and climate conditions. Consider factors such as durability, texture, color, and size when selecting materials for your project. Investing in quality materials will ensure that your paved surface stands the test of time.
3. Ignoring Drainage Issues
Proper drainage is essential for preventing water buildup and ensuring the longevity of your paved surface. DIY pavers often overlook drainage considerations, leading to issues such as water pooling, erosion, and damage to the paving materials. Before laying any pavers, assess the natural slope of the area and plan for adequate drainage by incorporating slopes, swales, or drainage channels. Additionally, consider using permeable pavers or incorporating drainage solutions such as French drains or gravel beds to help manage water runoff effectively.
4. Incorrect Base Preparation
The base layer is the foundation of any paving project and plays a critical role in supporting the weight of the pavers and providing stability and durability. DIY pavers often make the mistake of not properly preparing the base layer, which can result in uneven settling, shifting, and cracking of the paved surface over time. When preparing the base, make sure to excavate the area to the proper depth, compact the soil thoroughly, and add a layer of aggregate base material for stability. Proper base preparation is essential for a long-lasting and structurally sound paved surface.
5. Inadequate Edge Restraints
Edge restraints are essential for securing the perimeter of your paved surface and preventing the pavers from shifting or spreading over time. DIY pavers sometimes overlook the importance of edge restraints, leading to uneven edges, gaps, and potential tripping hazards. Make sure to install sturdy edge restraints such as plastic or metal paver restraints, concrete curbing, or landscape timbers around the perimeter of the paved area. Properly installing edge restraints will help maintain the integrity and appearance of your paved surface.
6. Incorrect Jointing and Sanding
Once the pavers are laid, proper jointing and sanding are crucial for stabilizing the surface, preventing weed growth, and enhancing the overall appearance of the paved area. DIY pavers often make the mistake of using the wrong type or amount of jointing material, leading to unsightly gaps, weed infestations, and uneven surfaces. Choose a suitable jointing material such as polymeric sand or fine mason sand and make sure to fill the joints completely and compact the material thoroughly. Proper jointing and sanding will help create a uniform and professional-looking finish for your paved surface.
7. Rushing the Finishing Touches
Finishing touches such as edging, sealing, and clean-up are important steps that should not be rushed or overlooked in a paving project. DIY pavers may be eager to complete the project quickly, but rushing the finishing touches can result in subpar results and potential issues down the line. Take the time to clean the paved surface thoroughly, apply any necessary sealant or finishing coat, and inspect the area for any gaps, unevenness, or imperfections. Attention to detail in the finishing touches will add a polished and professional look to your paved surface.
Summary
DIY paving projects can be a rewarding and cost-effective way to enhance your outdoor spaces. However, it’s important to avoid common mistakes that can compromise the quality and longevity of your paved surface. By taking the time to plan, prepare, select the right materials, and pay attention to key details such as drainage, base preparation, edge restraints, and finishing touches, you can achieve a successful and professional-looking result. With careful planning, proper execution, and attention to detail, you can create a beautiful and durable paved surface that will enhance the beauty and functionality of your outdoor spaces for years to come.
Need a Paving Company in Glendale, AZ?
Categorised in: Paving Tips
This post was written by admin

